ISXVG Setup: Step 2
ISXVG Setup: Step 2
Configuring InnerSpace to load ISXVG when Vanguard loads
Now that you have added Vanguard to the InnerSpace launcher, you will now want to configure InnerSpace so that it loads ISXVG automatically when the game begins.
Step 1: Open Configuration
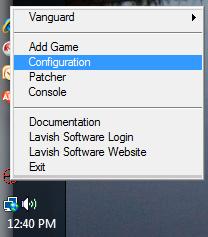
First, move your mouse to the windows task bar tray and, once again, right click on the innerspace icon and choose "Configuration".
Step 2: Select Game Configuration
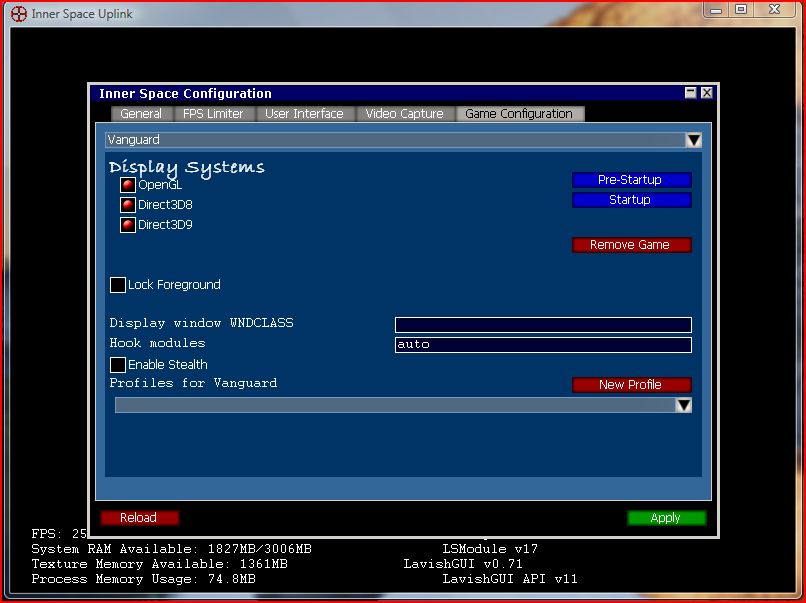
At this point, a very confusing looking window will appear. Just ignore most of what you see, and click on the tab that marked "Game Configuration." Once you do that, a drop down box will appear. From that box, select "Vanguard". Once you've done that, you should see a box that looks like this:
Step 3: Select Default Profile
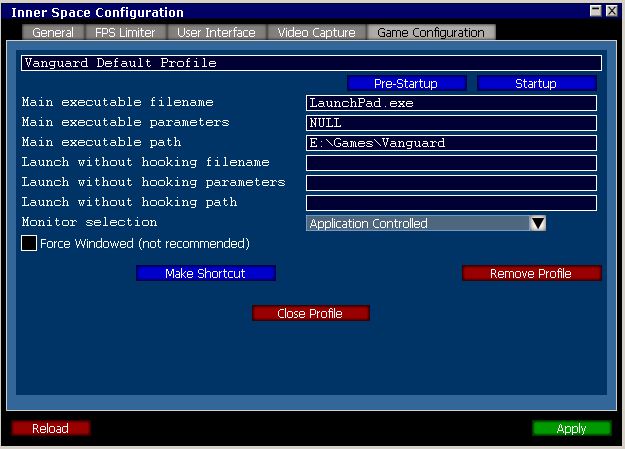
Now, go to the drop down box that's at the bottom marked "Profiles for Vanguard" and select "Vanguard Default Profile". At that point, the following box should pop up:
Step 4: Add Startup Command
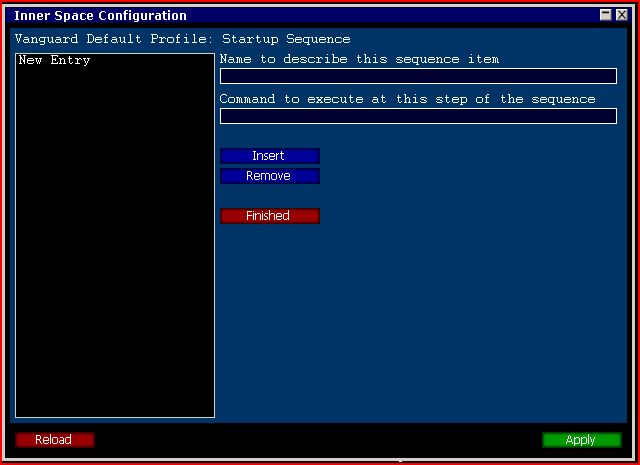
From here, click on the button marked "Startup", which will bring up a new window. Then, click on the button marked "Insert". Once you've done that, you should see a box that looks like this:
Step 5: Configure Extension Load
Then, click on the text marked "New Entry" to highlight it, then move your mouse over to the two text entry boxes, and fill them in to look like what you see below:
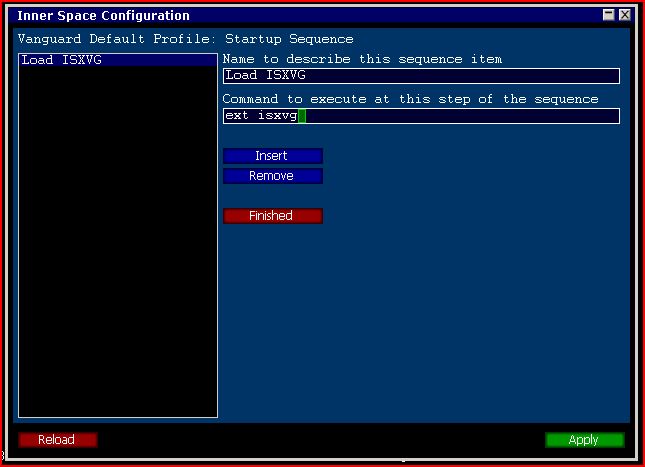
At that point, click on the "Finished" button. Then, click on the "Close Profile" button. Then, click on the "Apply" button. Finally, you can close the InnerSpace console window entirely and then you're ready to move to step 3.